
A working automation line has three parts: something that collects dust, belts that carry the capsules, and the hub that pays when they arrive. Start with one Robot vacuum or Packager and a belt into the hub, add a Pressure chamber and Stone press once raw dust flows, power them with Solar trackers, and finish with J.O.O.N.A.S. and a Capsule catcher.
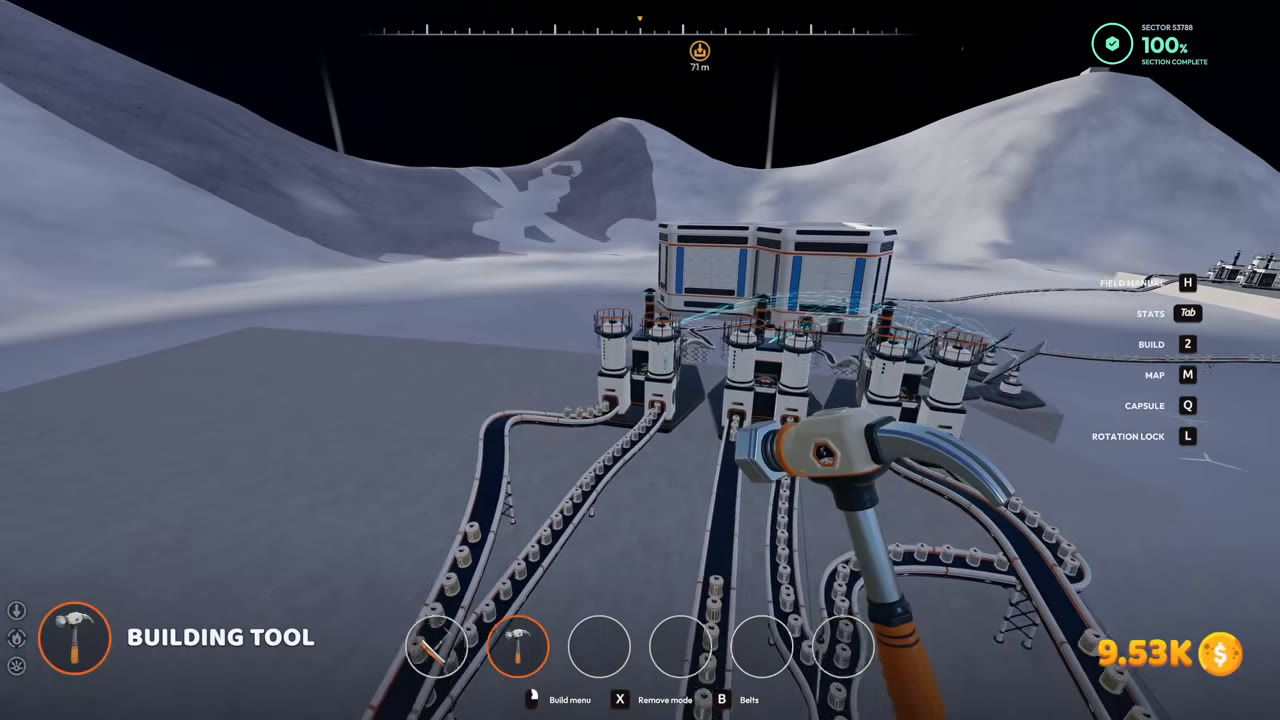
Step 1: buy the Building tool and pick a collector
The Building tool ($50) opens the Build menu with the Services, Logistics, Production, Power and Structures tabs. Your first collector is one of two machines:
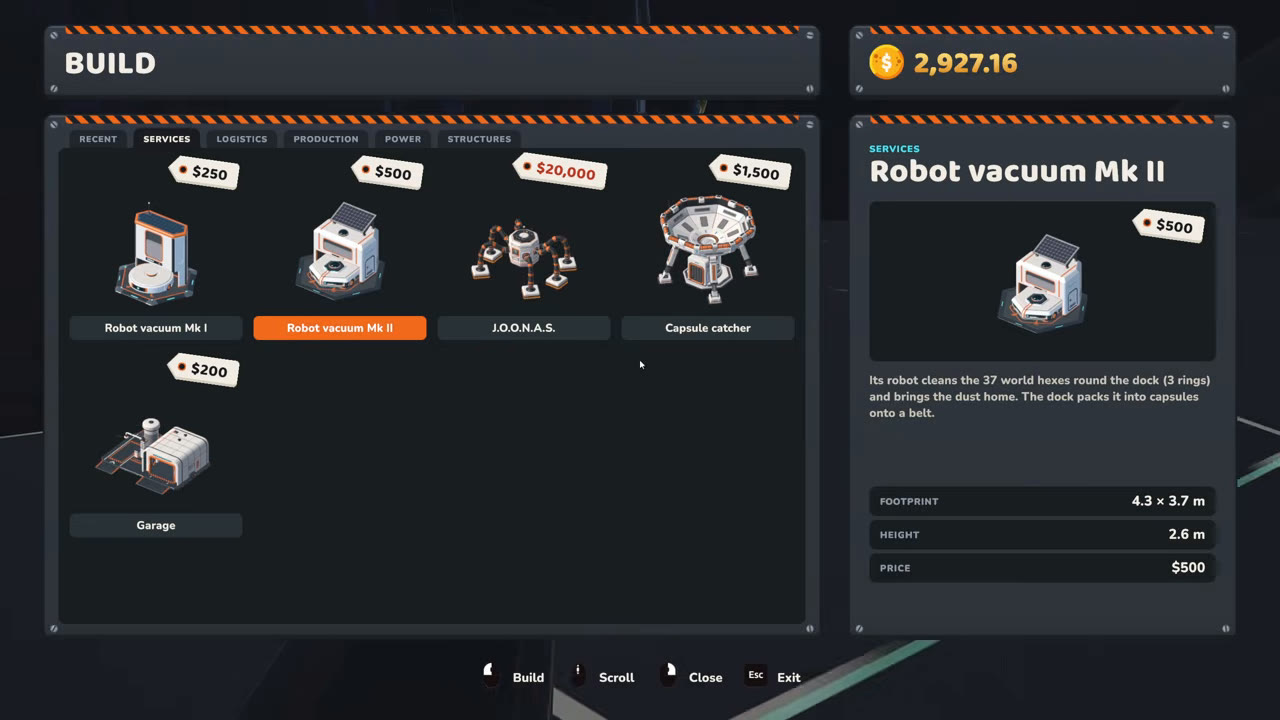
- Packager ($100): stand at it and press E to empty your broom; it sends the dust out of its rear port as capsules on a belt. Use it where you sweep by hand.
- Robot vacuum Mk I ($250) or Mk II ($500): its robot cleans the 19 or 37 hexes around the dock by itself and the dock puts the capsules on a belt. Place it on untouched ground; it stops when its area is clean.
Step 2: run the belt into the hub
Belts cost $0.50 per metre and each piece reaches up to 30 m. Start at the machine's output and follow the arrows to a port on the hub; capsules that arrive there are paid on arrival. A belt that ends short leaves the capsules piled at its tip.
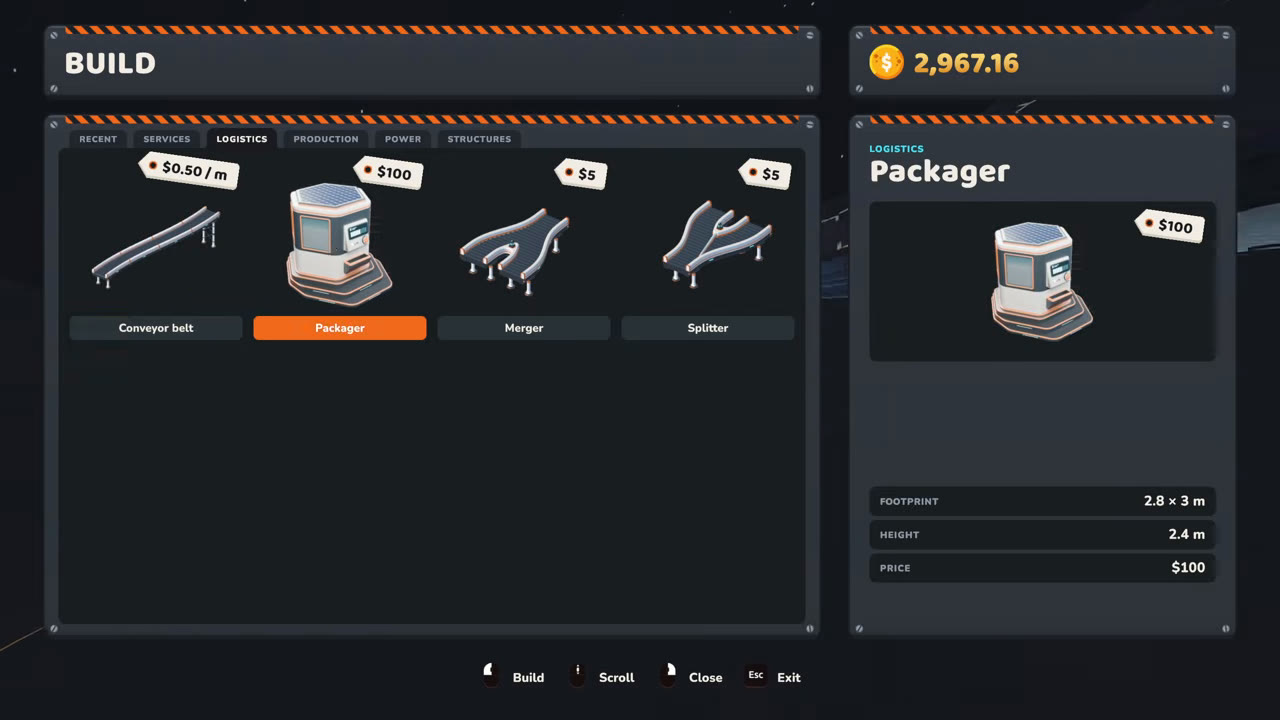
Raise or lower a belt with Ctrl and the scroll wheel so lines can cross without joining, and keep the last stretch into each machine straight so a reversed piece is easy to spot. One hub takes at most 12 belts, so plan merges early.
Step 3: add a Pressure chamber
A Pressure chamber ($500) turns dust into moon sand, up to 5 kg every 12 seconds, and sand sells for three times dust. Its inlet is the side without the handle; point that side at the dust belt and send the sand output on to the hub or a Stone press.
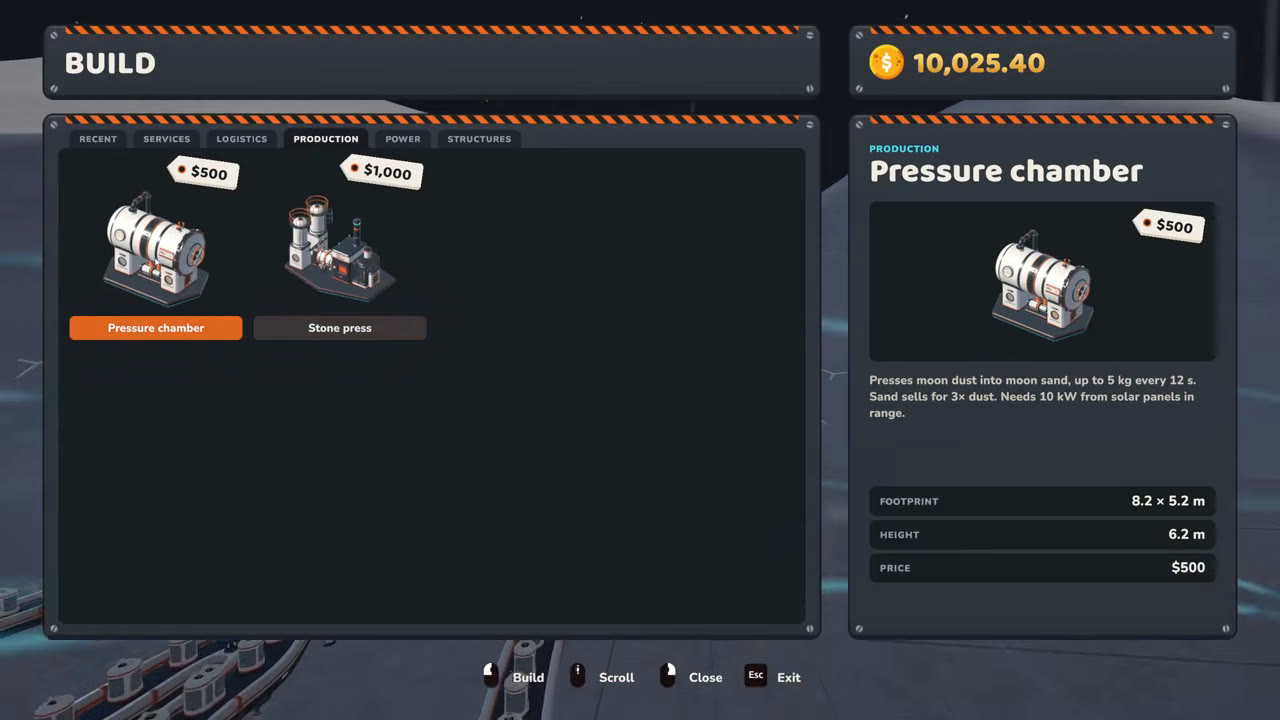
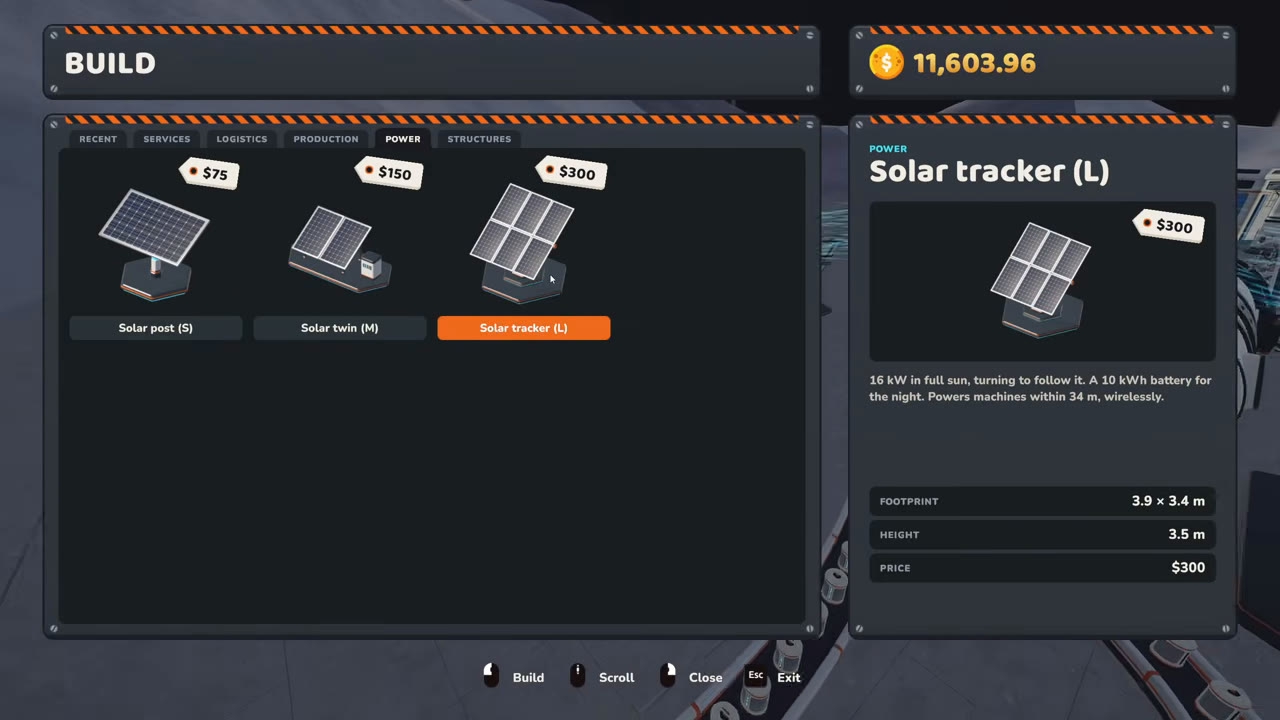
It needs 10 kW from solar panels in range, and nothing happens without it. The three panels compare like this:
- Solar post (S): $75, 3 kW, no battery, 16 m range. Four posts are needed for one chamber.
- Solar twin (M): $150, 7.5 kW, 4 kWh battery, 24 m range. Two cover one chamber.
- Solar tracker (L): $300, 16 kW, 10 kWh battery, 34 m range. One covers a chamber; a Stone press needs two.
Step 4: split the dust and add a Stone press
A Stone press ($1,000, 18 kW) fires 1 kg of dust and 1 kg of sand into a 2 kg stone block every 6 seconds, and stone sells for seven times dust. It needs both ingredients at once, so put a Splitter ($5) on the incoming dust belt: one branch feeds a Pressure chamber, the other goes to the press's dust input, and the chamber's sand goes to the press's other input. One builder reads the inputs as sand on the left and dust on the right. Belt the stone to the hub.
Splitters alternate between their outputs by themselves; there is no switch. Mergers ($5) join branches back into one belt and, since 1.0.4, take from their inputs in turn. Splitters and mergers snap port to port since 1.0.3; if one will not attach next to a machine, move further along the belt.
Step 5: keep it running at night
Solar output drops to zero in the dark and the batteries take over, so a line that runs all day can stall at night. One builder runs two Solar trackers per Pressure chamber and three per Stone press to last until sunrise; another uses about 16 to 18 trackers for a catcher block of two chambers and five presses. If production stops after sunset, check the stored charge before you replace any machine.
Step 6: unload vehicles through the Garage
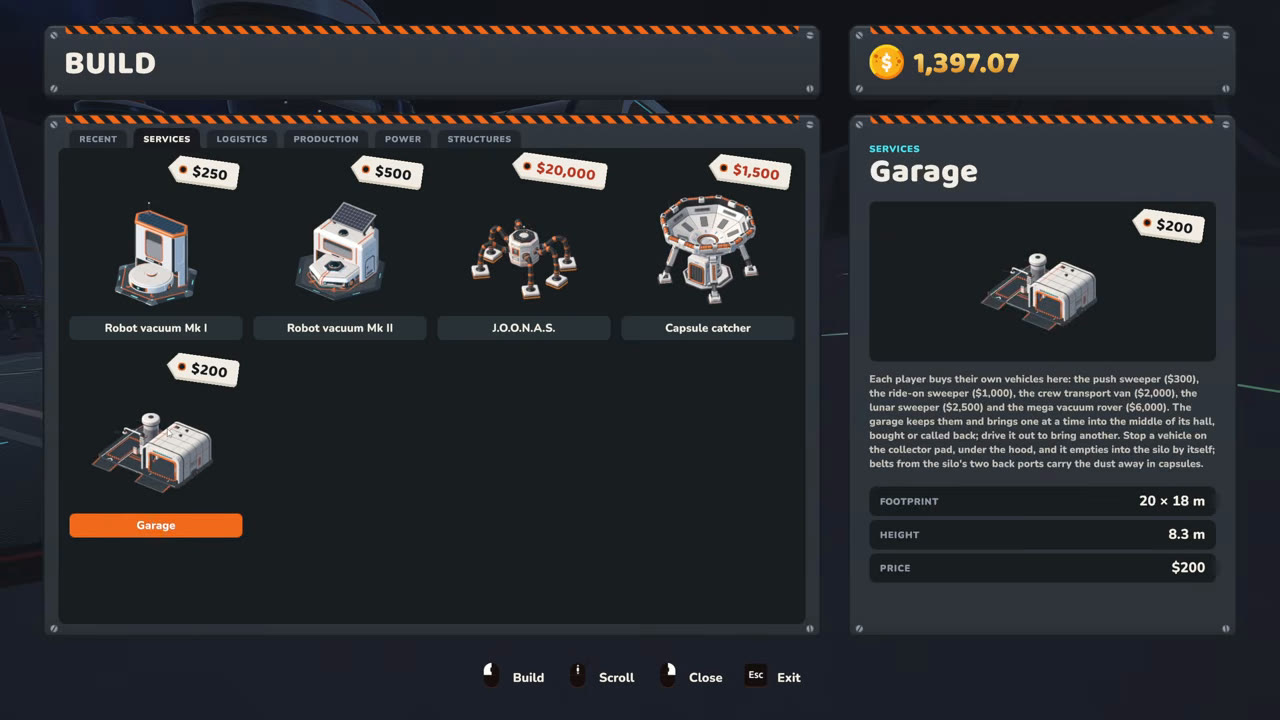
The Garage ($200) has a collector pad under its hood. Park a vehicle there and it empties into the silo; belts from the silo's two back ports carry the dust onward as capsules. Connect those ports before your first big load, or the dust just waits in the silo.
Step 7: J.O.O.N.A.S. and the Capsule catcher
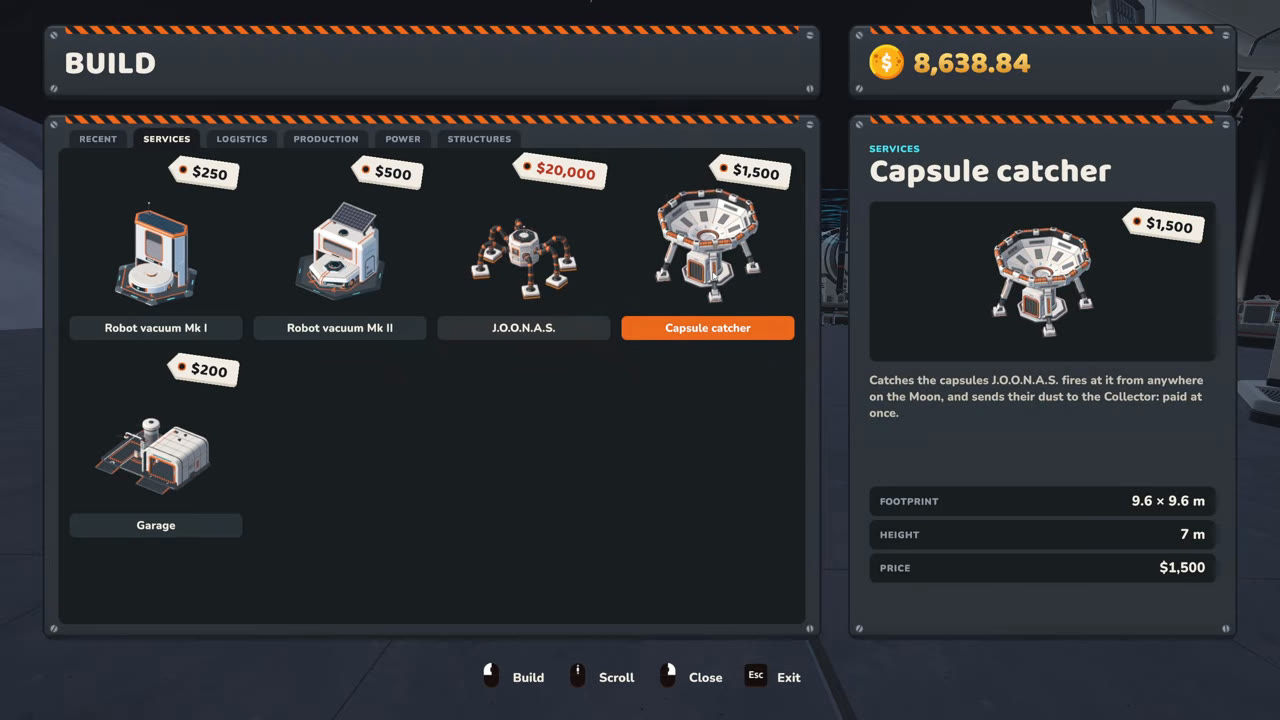
J.O.O.N.A.S. ($20,000) cleans the whole Moon one hex at a time, always the nearest dusty one, and fires its capsules at the nearest Capsule catcher ($1,500). Without a catcher it waits with a full bin. Since 1.0.4 it no longer returns to its dock, keeps cleaning when nobody is nearby and cleans about twice as fast; the catcher holds 100 kg.
Builders feed the catcher straight into a press block. Three layouts are in use:
- 1 catcher, 3 Pressure chambers, 3 Stone presses: each chamber feeds its own press; the builder suspects one catcher could feed four chambers.
- 1 catcher, 2 Pressure chambers, 5 Stone presses: built as several small blocks for many J.O.O.N.A.S. units; a commenter disputes the ratio.
- 2 catchers, 4 Pressure chambers, 8 Stone presses: fills the belts completely; eight presses are where the belt becomes the limit.
When the line makes no money
Follow one capsule from the collector and fix the first place it stops:
- Capsules pile at a belt end: the belt does not reach the hub.
- Pressure chamber ignores the dust: the belt is on the handle side, or power is short.
- Stone press idle: one ingredient is missing, power is short, or the stone cannot leave.
- "Could not pack a capsule" with power and materials present: update to 1.0.4, which fixed it.
- Robot vacuum stopped: its area is clean; place a new one on fresh ground.